
A survival spear is one of the most practical tools I’ve ever made with my own hands, especially in situations where resources are limited and improvisation becomes essential. It serves multiple purposes, from hunting small game and fishing to basic self-defense and even utility tasks like probing terrain. The beauty of a spear lies in its simplicity, but building one that is effective and durable requires attention to detail and patience. Over time, I’ve refined my method to rely only on natural materials and a few basic techniques that can be replicated almost anywhere.
The Purpose Of A Survival Spear
A spear is not just a weapon; it is an extension of reach and control in the wild. It allows me to maintain distance from animals while still being able to hunt or defend myself effectively. That added reach makes a significant difference, especially in unpredictable environments where safety is not guaranteed.
Beyond defense, I’ve found a spear incredibly useful for fishing in shallow waters. It also doubles as a walking aid in rough terrain, helping me test unstable ground or maintain balance on steep slopes. Because of its versatility, making a spear is one of the first survival skills I prioritize.
Selecting The Right Wooden Shaft
The shaft forms the backbone of the spear, so getting this part right is critical. I usually look for a straight, sturdy branch that is about as thick as my thumb or slightly thicker. Hardwoods are ideal because they are more durable and less likely to snap under pressure.
I pay attention to the length as well, typically choosing something between five to seven feet. A longer shaft gives better reach, but it can also become harder to control if it’s too long. Balance matters, so I try to find a piece that feels comfortable in my hands and doesn’t wobble when I hold it horizontally.
Preparing The Wood
Once I have the branch, I remove all the smaller twigs and bark. This step is more important than it might seem because bark can trap moisture and cause the wood to weaken over time. Stripping it down also gives me a clearer view of the grain, which helps me avoid weak spots.
After cleaning the shaft, I let it dry if time allows. Fresh wood can be flexible, but slightly dried wood becomes stronger and more reliable. If I’m in a rush, I still proceed, but I make sure to test the flexibility so I know how much force it can handle.
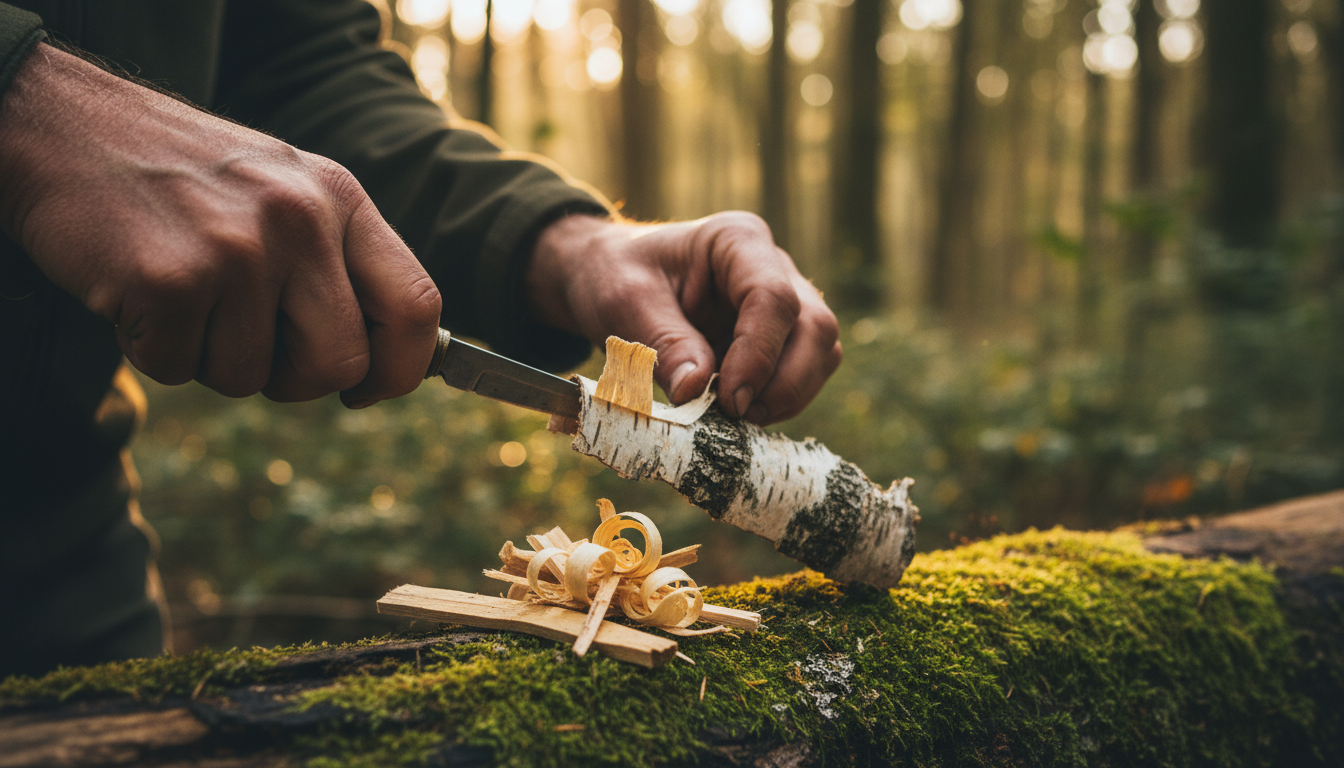
Shaping The Tip
Shaping the tip is where the spear begins to take form. I carve one end of the shaft into a sharp point using a knife or any sharp-edged tool available. The goal is to create a symmetrical tip that can penetrate effectively without splintering.
I take my time with this step because a poorly shaped tip can make the spear ineffective. Gradual carving works best, removing small amounts of wood rather than trying to shape it all at once. This approach helps maintain control and results in a stronger point.
Hardening The Tip With Fire
Fire hardening is one of the oldest techniques I rely on, and it significantly improves the durability of the spear tip. I carefully hold the carved tip near a fire, rotating it slowly to ensure even exposure. The heat removes moisture and slightly chars the surface, making it tougher.
I avoid placing the tip directly into flames because that can burn it too quickly and weaken the structure. Controlled heat is key, and patience makes a noticeable difference in the final result. Once done, the tip feels noticeably harder and more resistant to wear.
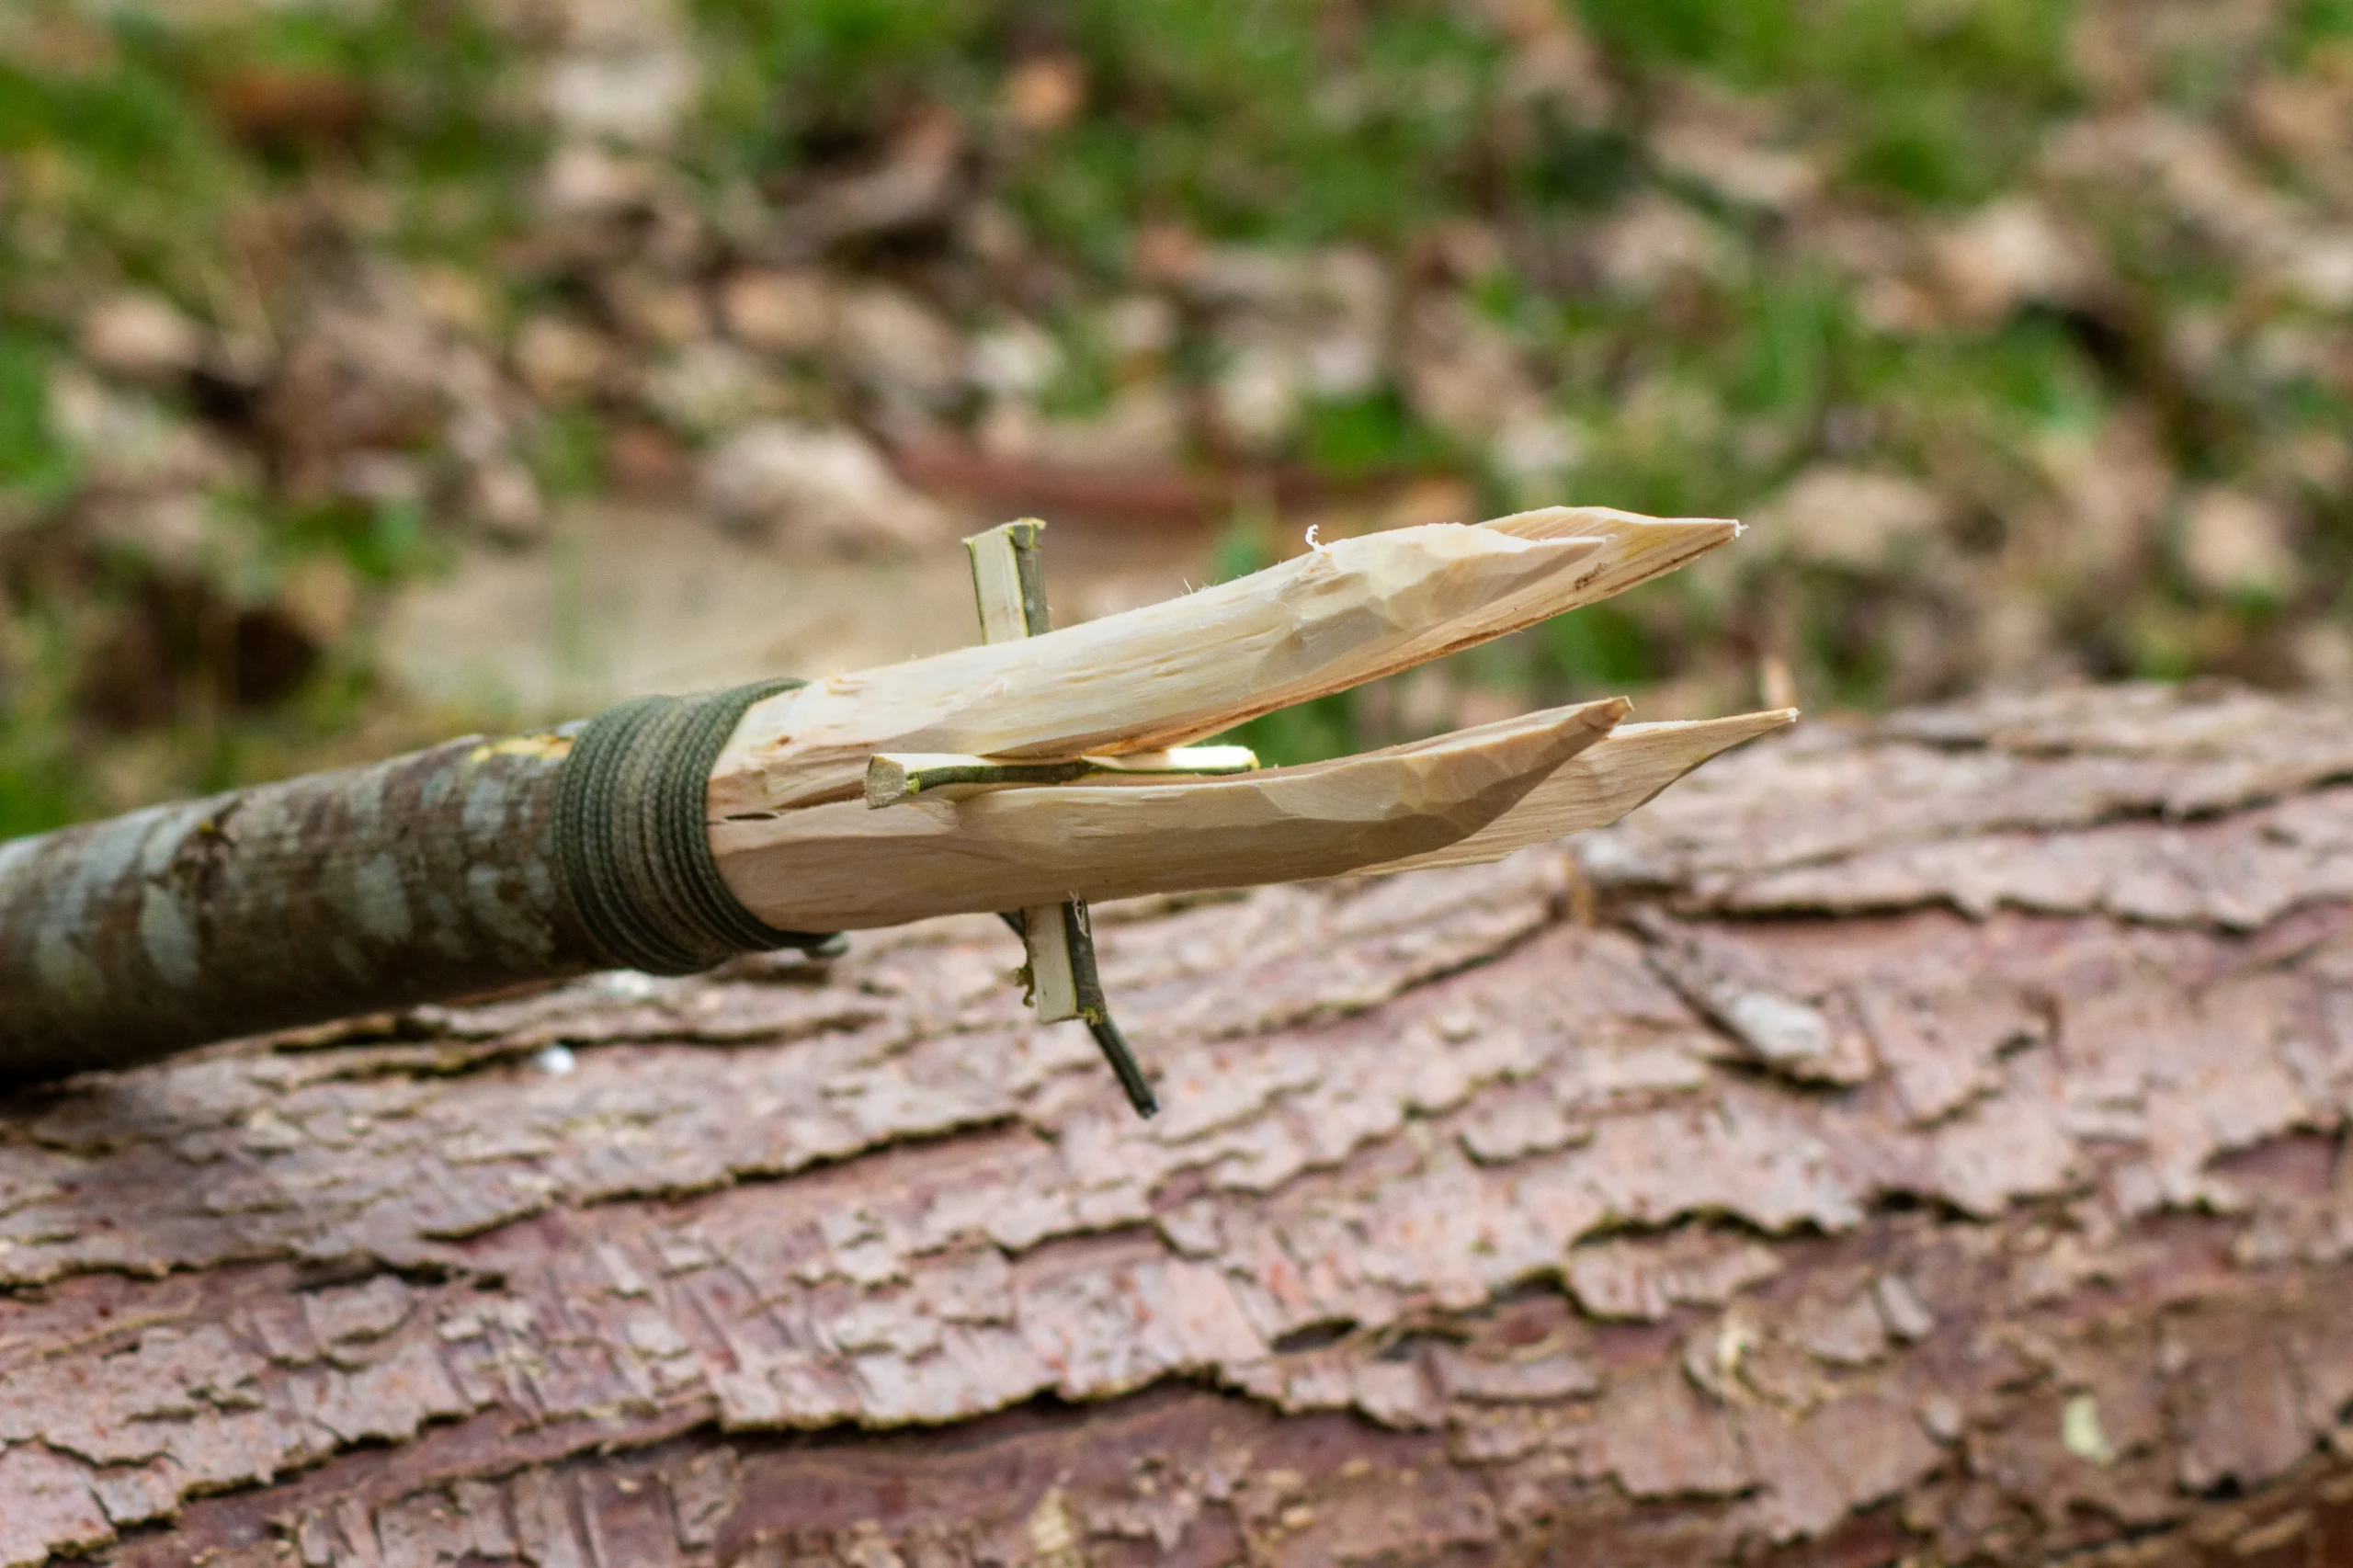
Adding A Split Tip For Better Grip
For certain situations, especially fishing, I sometimes split the tip into multiple prongs. I carefully carve a cross-shaped split at the end of the spear, extending a few inches down. This creates a forked tip that increases the chances of holding onto slippery prey.
To keep the splits from going too far, I wrap the base of the split section with cordage or strong fibers. This reinforcement is essential because it prevents the wood from cracking further during use. The result is a more versatile spear that performs well in water.
Attaching A Stone Or Bone Tip
While a sharpened wooden tip works, attaching a harder material can greatly improve effectiveness. I often look for a sharp stone or a piece of bone that can serve as a spearhead. These materials hold an edge better and can penetrate more easily.
I carve a notch at the end of the shaft and fit the stone or bone securely into place. Using natural cordage, I bind it tightly, ensuring there is no movement. Sometimes I add resin or sap as an adhesive, which helps lock everything together and adds extra stability.
Crafting Natural Cordage
Cordage plays a vital role in securing spearheads and reinforcing structures. I usually make it from plant fibers, such as bark strips or vines. Twisting the fibers together creates a strong and flexible rope that can withstand significant tension.
The process takes time, but the effort pays off. I focus on consistency while twisting, making sure the fibers are evenly distributed. A well-made cord can last surprisingly long and is useful for many other survival tasks beyond spear construction.
Testing The Spear
Before relying on the spear, I always test it thoroughly. I thrust it into soft ground or a piece of wood to check how well the tip holds up. This helps me identify any weak points that might fail during actual use.
I also practice handling it to get a feel for balance and control. A spear that feels awkward can be difficult to use effectively, so minor adjustments may be necessary. Testing builds confidence and ensures the tool performs as expected.
Maintenance And Care
A spear is not a one-time project; it requires regular maintenance. I check the tip for dullness or damage and re-sharpen it as needed. Keeping the spear in good condition extends its usefulness and reliability.
If the spear gets wet, I make sure to dry it properly. Moisture can weaken the wood and loosen bindings over time. Taking care of the spear ensures it remains a dependable tool in any situation.
Practical Uses In Survival Situations
The spear becomes invaluable once it is ready. I’ve used it for fishing in streams, where quick and precise movements are essential. It allows me to catch food without needing complex equipment.
In addition to hunting, the spear can serve as a defensive tool. Maintaining distance from potential threats provides a sense of security that is hard to replicate with shorter tools. It also works well for tasks like digging or clearing obstacles.
Common Mistakes To Avoid
One mistake I see often is rushing the process. Skipping steps like proper carving or fire hardening can lead to a weak spear that fails when it is needed most. Taking the time to do each step correctly makes a significant difference.
Another issue is poor material selection. Using soft or brittle wood can result in breakage, which is dangerous in survival situations. Paying attention to the quality of materials ensures a stronger and more reliable final product.
Adapting To Different Environments
Different environments call for slight variations in technique. In forested areas, I have access to a wide range of hardwoods and fibers, making construction easier. In more barren regions, I rely on whatever materials are available, sometimes improvising with driftwood or salvaged items.
Flexibility is key, and I adjust my approach based on what I find. The core principles remain the same, but the execution changes depending on the surroundings. This adaptability is what makes the skill so valuable.
Building Confidence Through Practice
Making a survival spear is a skill that improves with repetition. Each attempt teaches something new, whether it’s refining carving techniques or improving cordage strength. Practice builds both skill and confidence.
Over time, the process becomes more intuitive. I no longer second-guess each step because experience guides my decisions. That confidence translates into efficiency, which is crucial in real survival scenarios.
Final Thoughts
A survival spear represents more than just a tool; it reflects resourcefulness and self-reliance. Crafting one from scratch connects me to basic skills that have been used for generations. It reminds me that even with limited resources, it is possible to create something functional and reliable.
Taking the time to learn and refine this skill has proven worthwhile. The knowledge stays with me, ready to be applied whenever needed. With patience and practice, anyone can build a spear that serves as a dependable companion in the wild.