A solid survival kit does not have to drain your wallet or feel like an overwhelming project. I put mine together with a clear goal in mind: cover the essentials without going over $100, while still making sure it could actually help in real situations. Emergencies do not wait for perfect timing, and having even a simple, well-thought-out kit can make a huge difference. With a bit of planning and smart shopping, it is completely possible to build something reliable, practical, and affordable.
Setting A Clear Budget And Priorities
I started by setting a strict budget cap of $100, and that decision alone shaped every choice I made. It forced me to think about what truly matters in an emergency rather than getting distracted by flashy or unnecessary gear. The focus stayed on survival basics: water, food, shelter, light, and first aid. Anything outside of those categories had to justify its place.
Prioritizing needs over wants became the foundation of the entire process. A fancy multi-tool might look impressive, but if it meant sacrificing clean drinking water or a basic first aid kit, it was not worth it. I kept reminding myself that this kit was meant to help in real-life situations, not just sit on a shelf looking complete.
This mindset also helped me avoid overspending. It is easy to think “just a few extra dollars” here and there will not matter, but those small additions quickly add up. Sticking to a clear budget kept everything focused and efficient.

Water And Hydration Essentials
Water was the first category I tackled because it is the most immediate survival need. I included at least two liters of bottled water, which cost very little but provides a crucial starting point. In addition, I added water purification tablets since they are inexpensive and lightweight, yet incredibly useful if clean water runs out.
A collapsible water container became another smart addition. It takes up almost no space when empty and allows me to store extra water if I find a reliable source. This kind of flexibility is important in unpredictable situations where access to clean water may change.
I also made sure to include a simple metal cup. It can be used to boil water if needed, which adds an extra layer of safety. Having multiple ways to secure safe drinking water felt like one of the best investments in the entire kit.
Affordable Food That Lasts
Food choices were all about shelf life, nutrition, and cost. I picked calorie-dense items like energy bars, instant noodles, and canned goods that do not require refrigeration. These are easy to find in any grocery store and can last for months or even years.
Peanut butter turned out to be one of the best additions. It is affordable, packed with calories, and does not require any preparation. I also added a few packs of crackers and dried fruit to balance things out and avoid relying on just one type of food.
Portion control mattered as well. Instead of buying large quantities of one item, I spread the budget across different options to keep meals varied. Eating the same thing repeatedly can lower morale during stressful situations, and even small variety helps more than expected.
Building A Simple First Aid Kit
A first aid kit is something I refused to compromise on, even with a tight budget. I started with the basics: adhesive bandages, gauze pads, medical tape, antiseptic wipes, and pain relievers. These items are inexpensive and widely available, yet they can handle many common injuries.
I also included a small pair of scissors and tweezers. These tools are often overlooked but can be incredibly useful when dealing with cuts, splinters, or other minor injuries. Having them on hand makes the kit far more functional.
To keep everything organized, I used a compact pouch. This made it easy to find items quickly instead of digging through the entire kit. In stressful situations, speed matters, and organization can save valuable time.
Light And Power Solutions
Reliable light is essential, especially during power outages or nighttime emergencies. I added a basic flashlight with extra batteries, making sure it was durable and easy to use. It did not need to be high-end, just dependable.
A small headlamp became another valuable addition. It allows hands-free lighting, which is extremely helpful when setting up shelter or handling first aid tasks. This small upgrade made a big difference in overall usability.
For power, I included a low-cost portable power bank. While it does not hold a massive charge, it is enough to keep a phone running for communication. Staying connected can be critical, and this simple addition provides peace of mind.
Shelter And Warmth On A Budget
Shelter does not have to be complicated or expensive. I added an emergency blanket, which is lightweight, compact, and surprisingly effective at retaining body heat. It is one of the most cost-efficient items in the entire kit.
A basic poncho served a dual purpose. It provides protection from rain and can also be used as a makeshift shelter when combined with rope or cord. Multi-use items like this are key when working within a limited budget.
I also included a pair of gloves and a beanie. These small clothing items help retain body heat and are often overlooked. Staying warm can be just as important as staying dry, especially in unpredictable weather.
Tools That Offer Real Value
Choosing tools required careful thought. I avoided expensive multi-tools and instead selected a sturdy, affordable folding knife. It handles basic tasks like cutting rope, opening packages, and preparing food without breaking the budget.
Duct tape became one of the most versatile items in the kit. It can repair gear, patch holes, and even assist in minor first aid situations. A small roll goes a long way and earns its place easily.
I also added a length of paracord. It is strong, lightweight, and useful for building shelter, securing items, or even improvising repairs. Simple tools like these provide flexibility without adding unnecessary cost.
Fire Starting Made Simple
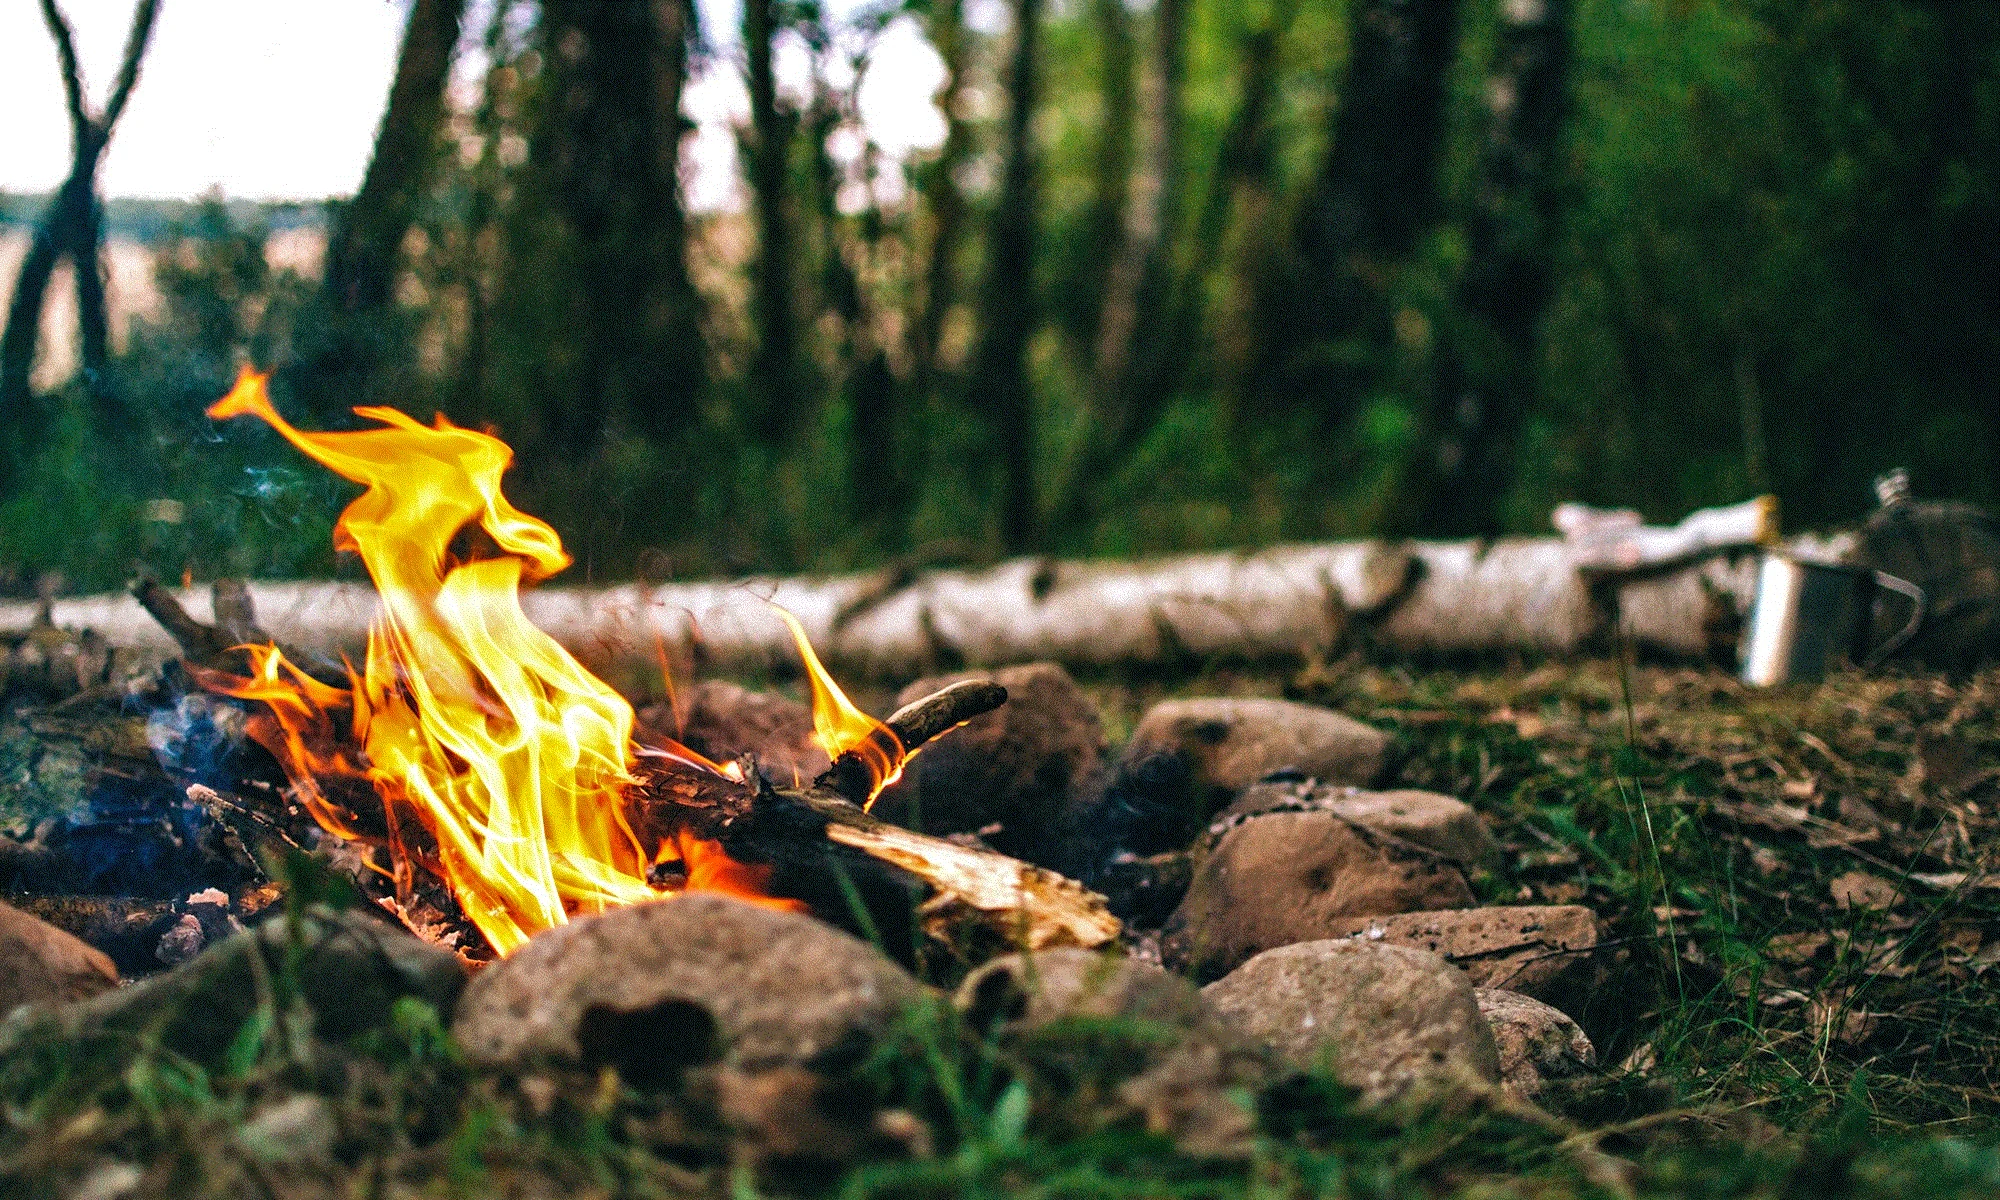
Fire is essential for warmth, cooking, and signaling. I included a couple of disposable lighters since they are cheap and reliable. Redundancy matters, so having more than one option increases the chances of success.
Matches sealed in a waterproof container added another layer of backup. Even if one method fails, there is still another available. This kind of planning helps reduce risk.
To make fire starting easier, I packed some cotton balls coated in petroleum jelly. They ignite quickly and burn long enough to get a fire going. It is a simple trick that costs almost nothing but adds significant value.
Hygiene And Sanitation Basics
Hygiene often gets overlooked, but it plays a big role in staying healthy. I added travel-sized soap, a toothbrush, toothpaste, and a small pack of wet wipes. These items help maintain cleanliness even in difficult conditions.
Hand sanitizer became another essential inclusion. It is quick to use and helps prevent the spread of germs when clean water is limited. This is especially important during extended emergencies.
I also included a few garbage bags. They can be used for waste, storage, or even as improvised rain protection. Items that serve multiple purposes are always worth adding.
Packing Everything Efficiently
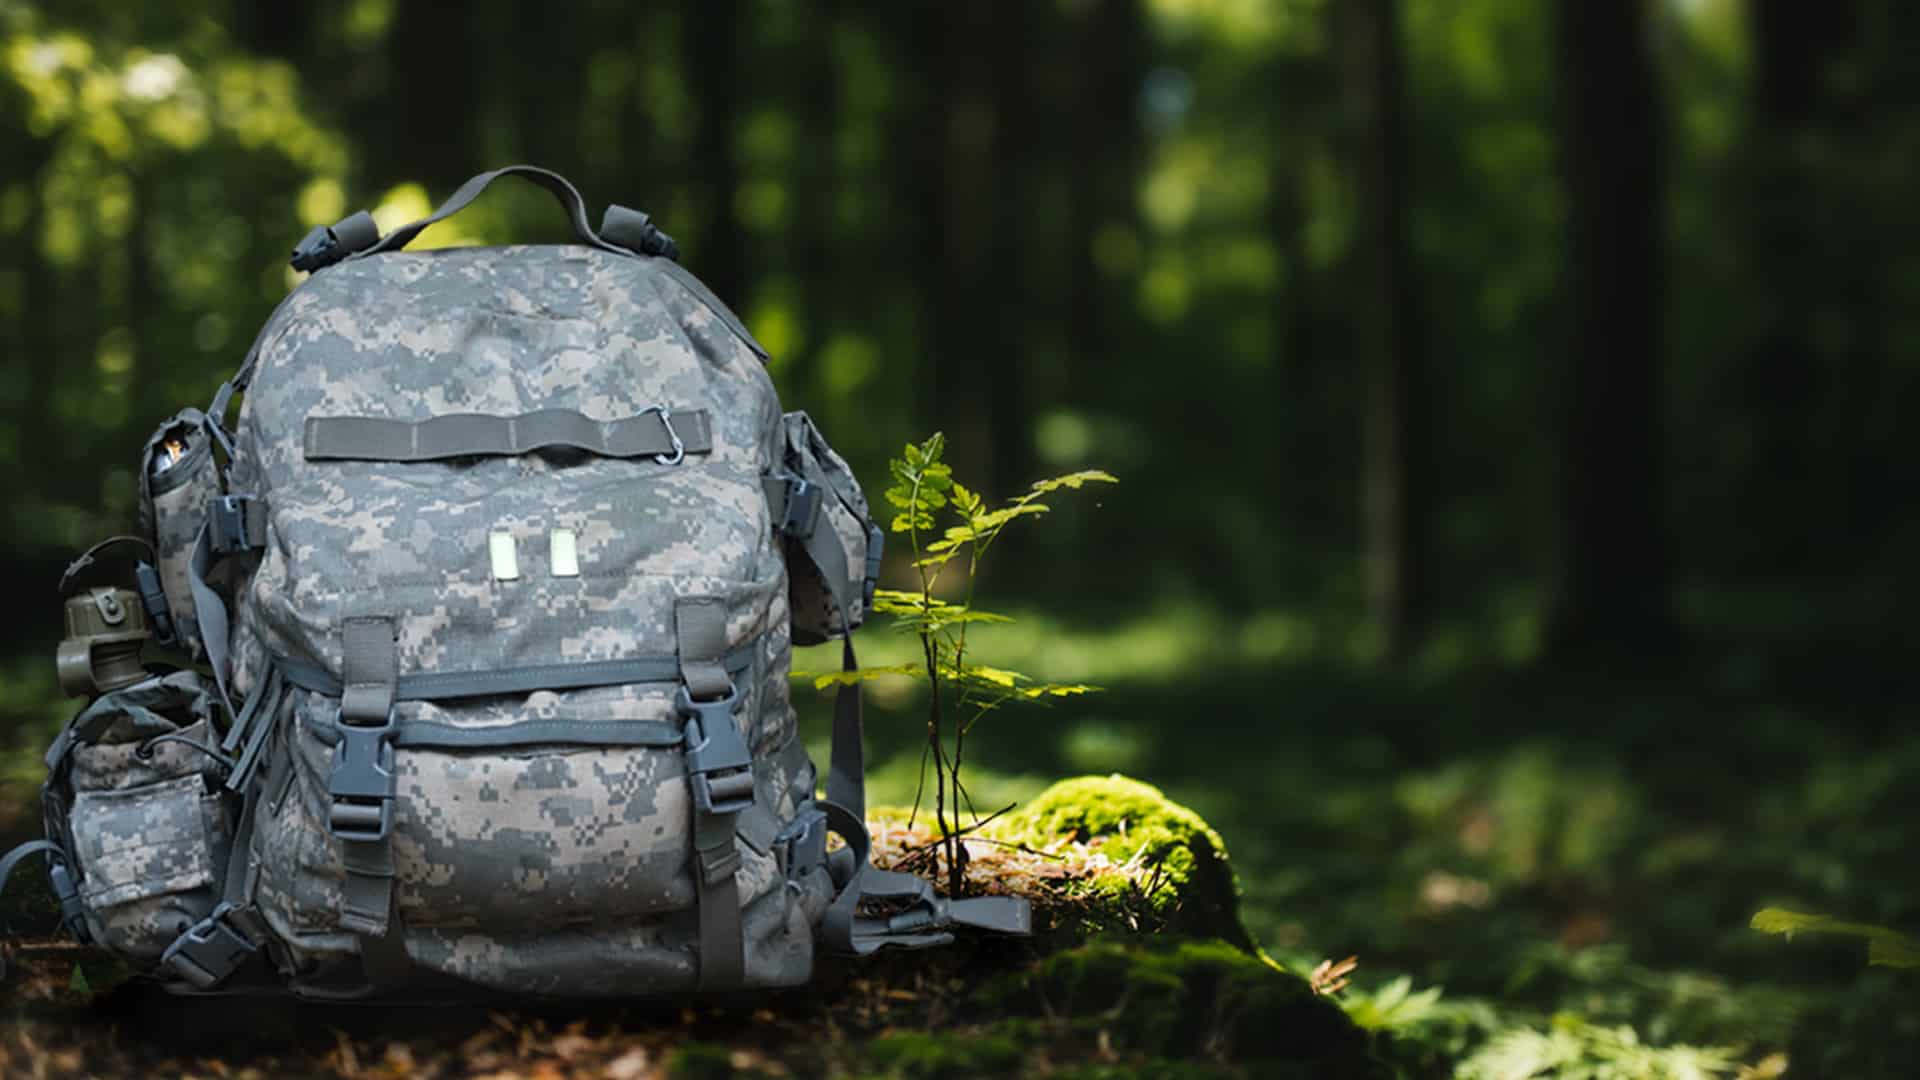
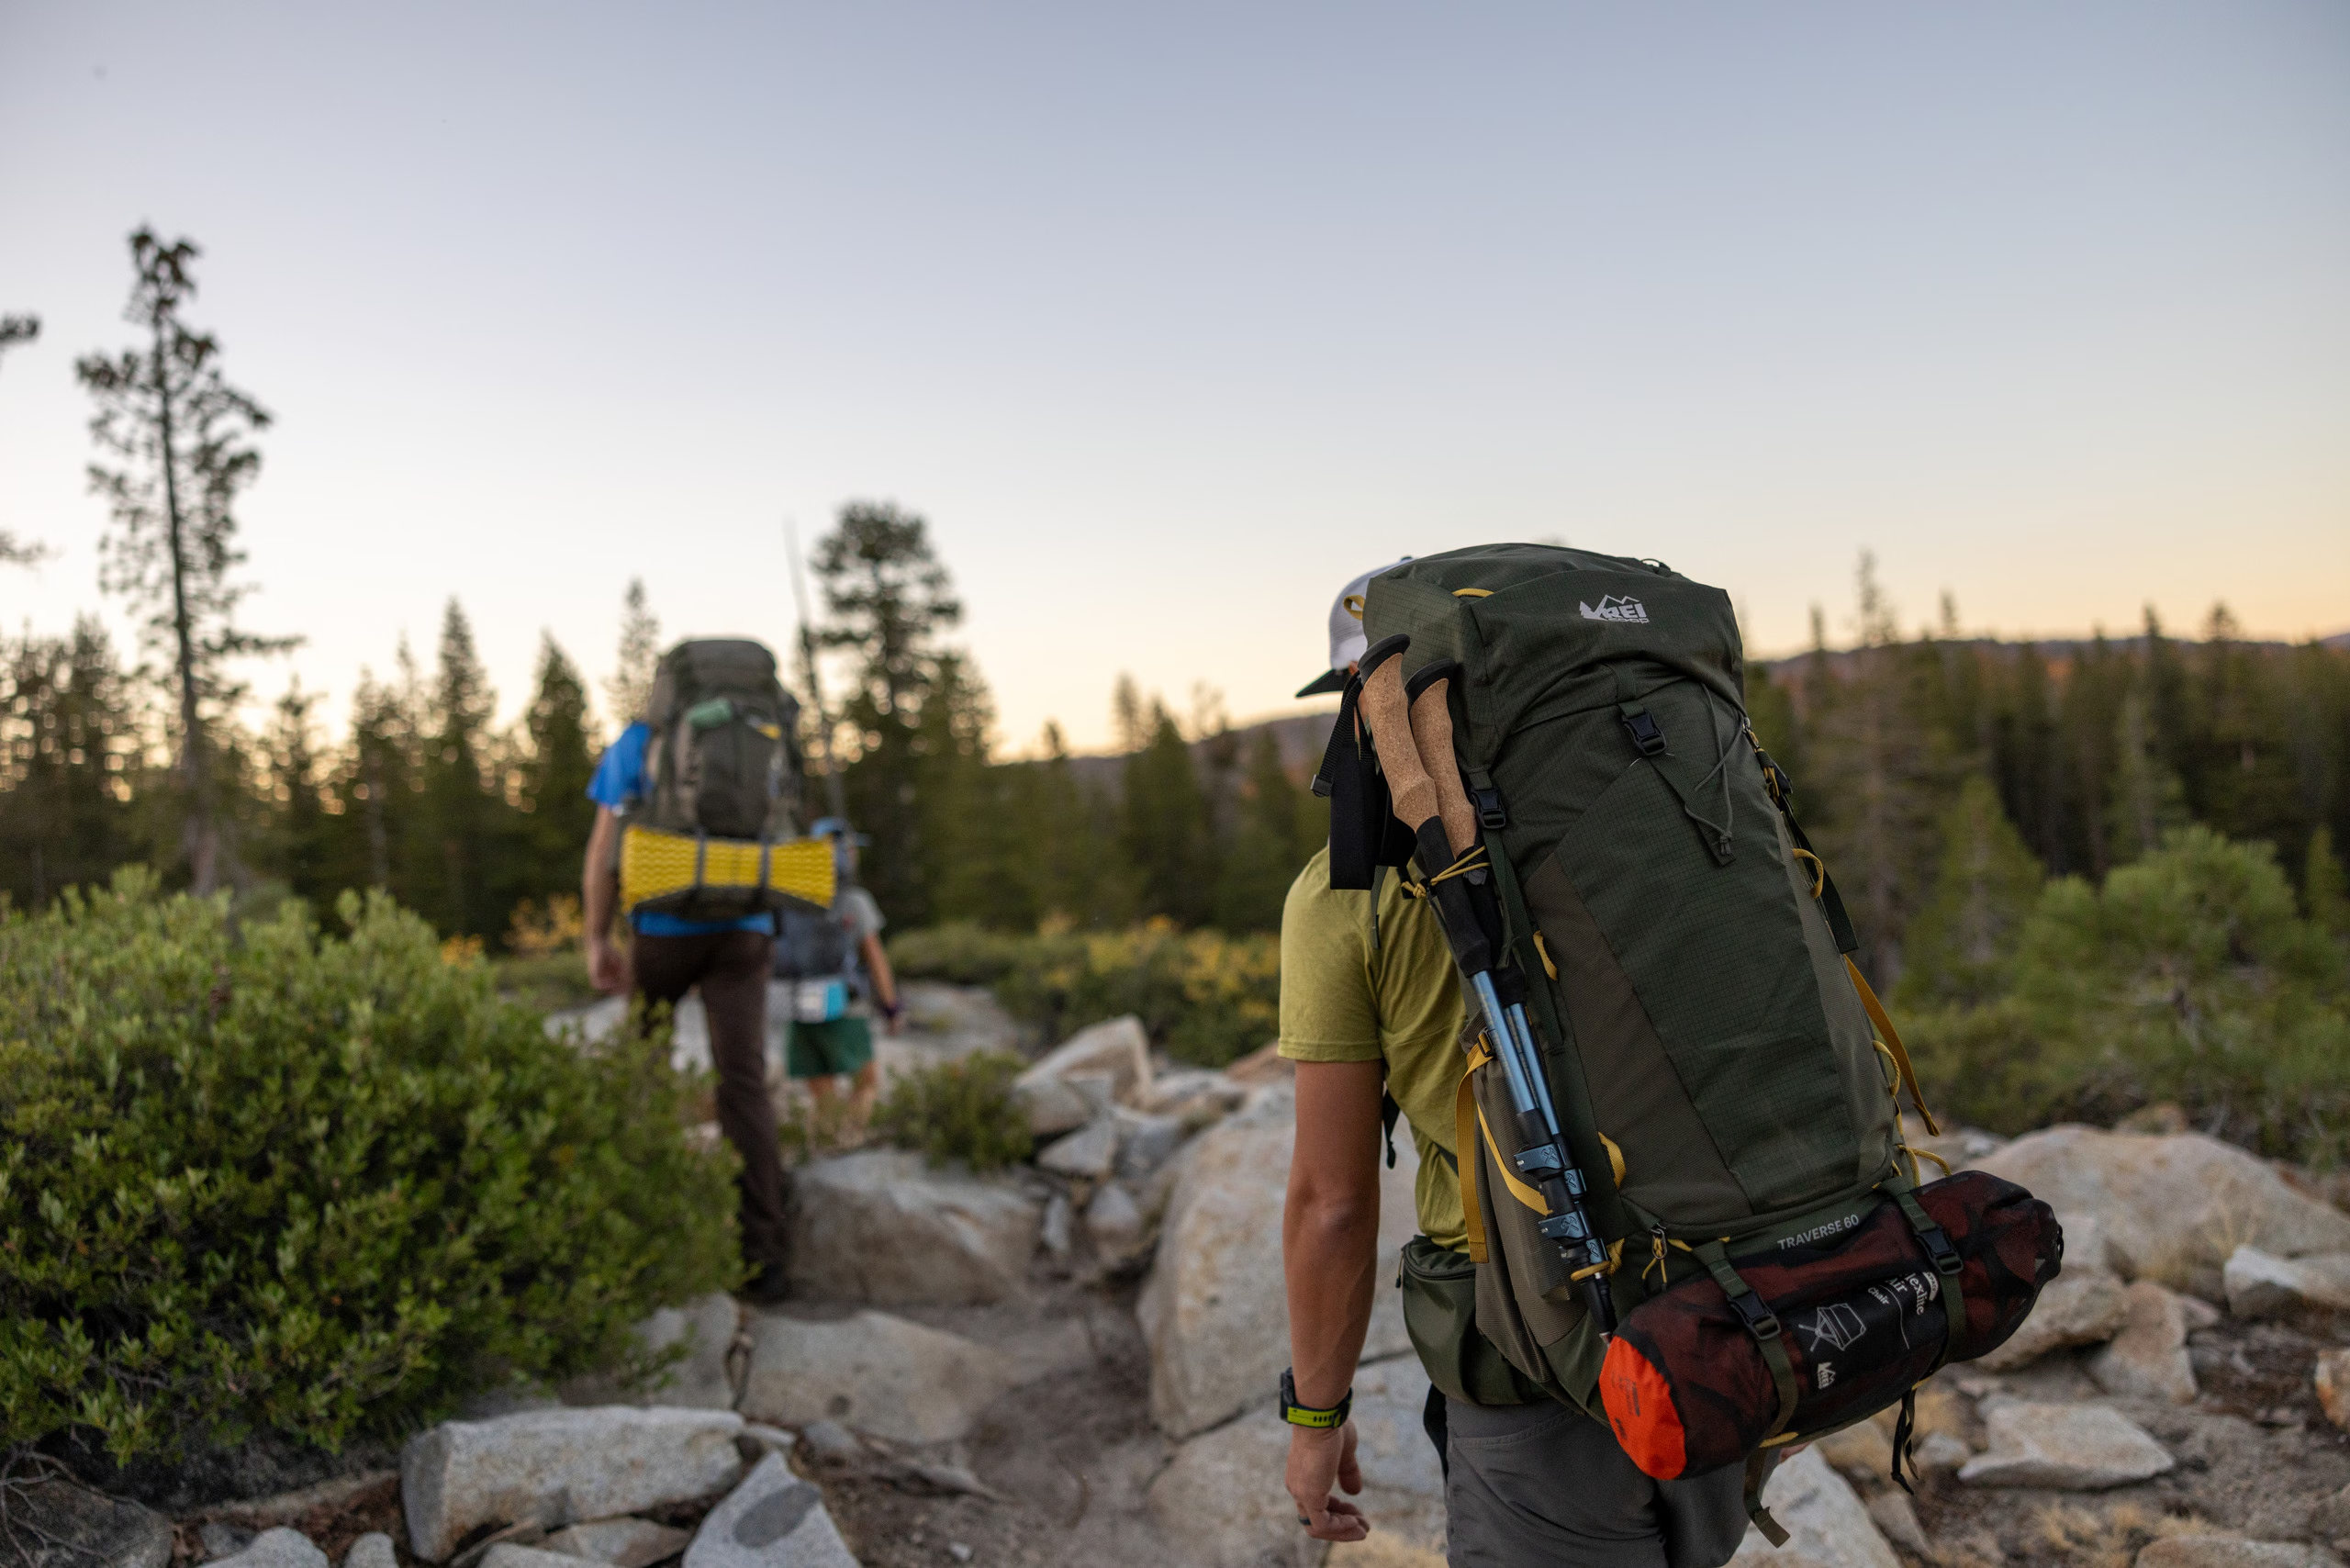
Choosing the right bag made a big difference. I used a simple, durable backpack that could hold everything without being too bulky. It did not need to be tactical or expensive, just strong enough to carry the load.
Organization inside the bag helped keep things accessible. I grouped items by category, placing frequently used items near the top. This made it easier to find what I needed quickly.
Weight distribution also mattered. Heavier items stayed closer to the back, while lighter items filled the outer sections. This kept the bag comfortable to carry, even for longer periods.
Staying Within The $100 Limit
Keeping track of spending required discipline. I wrote down every item and its cost, making adjustments when needed to stay under budget. This helped prevent surprises at checkout.
Shopping smart made a huge difference. I looked for discounts, bought store-brand items, and avoided unnecessary extras. Quality still mattered, but I focused on value rather than brand names.
By the end of the process, I had a complete survival kit that cost just under $100. It covered all essential needs without feeling incomplete or compromised. That balance was the most satisfying part.
Final Thoughts On Budget Preparedness
Putting together a survival kit on a budget proved that preparedness does not have to be expensive. With careful planning and practical choices, it is possible to build something reliable without overspending. The key is focusing on essentials and avoiding distractions.
This process also changed how I think about emergencies. Having a kit ready brings a sense of control and confidence that is hard to put a price on. It is not about expecting the worst, but about being ready if it happens.
Anyone can build a kit like this with a bit of effort and creativity. Starting small is better than not starting at all, and even a basic setup can make a real difference when it matters most.